This post may contain affiliate links. This means that if you click and make a purchase, I receive a small commission at no additional cost to you. I only recommend products I use and love, or that I would recommend to my mom or best friend. Please see the disclosure statement for additional information.
Of all the seasons, fall seems to be the one that gets people most excited. Maybe it’s because of the striking visual changes that happen in nature during the fall.
The leaves turn to brilliant shades of red, gold, and auburn. The air gets a little chillier. And… it’s sweater weather, baby.
I love to usher in fall with a colorful, cheery update to the planter pots on my front porch. Here’s how I decorate pots for fall!
The quick and dirty way to decorate pots for fall
A simple band of ribbon is a great way to bring seasonal color to ordinary planter pots. Add florals in beautiful fall colors, and you’ve got a cozy, beautiful, inviting front porch.
If I’m being honest, I’d say this is the quick and dirty method for updating pots for the season.
Why?
Because I used temporary (But secure) means to mount the ribbon to the pots.
Also, I didn’t actually plant the mums in the pots – I just plopped them into my pots in their original containers, and called it good.
Let’s just say it’s the busy girl’s approach to exterior décor.
[clickToTweet tweet=”Quick & dirty decorating: The busy girl’s approach to exterior décor.” quote=”Quick & dirty decorating: The busy girl’s approach to exterior décor.”]
What you’ll need:
- Planter pots
- Chrysanthemum plants (Also known as mums), or other flowering fall plant of your choice
- Satin florist ribbon
- Scissors
- Safety pins
- Foam mounting tape
- Bricks or floral foam, if your pots don’t already contain soil
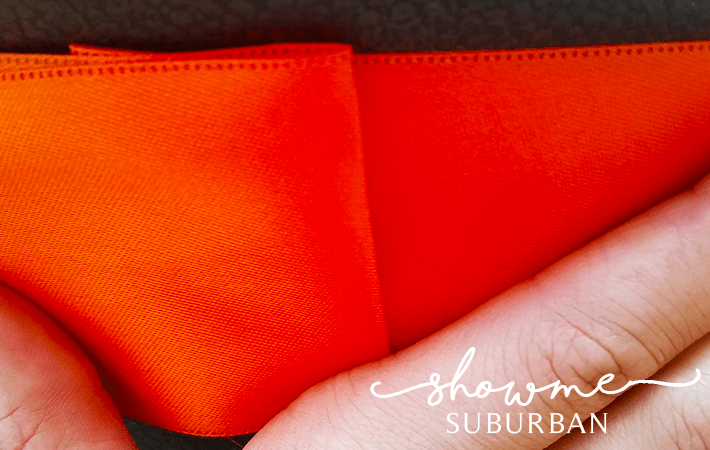
Let’s talk about this ribbon for a minute.
Like I said above, I used florist ribbon for this project. No idea what that is? Me neither, until I started looking into ribbon more closely.
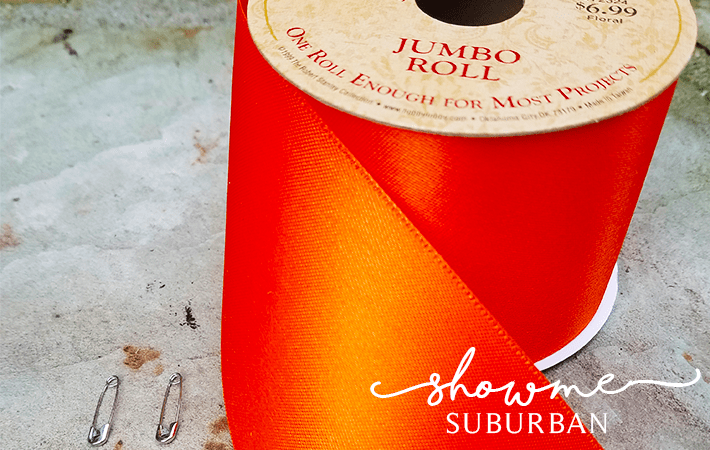
Florist ribbon is stiffer, less soft, and thinner than double-faced satin or grosgrain ribbons. It feels and sounds almost like paper. If you pull on it from end to end, it doesn’t give much at all.
In my opinion, florist ribbon is ideal for use on an outdoor project like this.
Florist ribbon is much less likely to droop, sag, or stretch. It’s also less absorbent than other ribbons, and dries out faster. Finally, it’s easier to wipe clean than double-faced or grosgrain ribbons, so you don’t have to worry as much about it getting stained as the season progresses.
It’s not hard to find if you look in the right place. I found it at Hobby Lobby, in the aisle right next to the floral department. Not sure whether the ribbon you have is florist ribbon or not? Just check the top of the spool. If it says “floral,” you’ve got the right stuff (See the upper right corner of the image above).
What to do
First, let’s prep our pots.
Out with the old
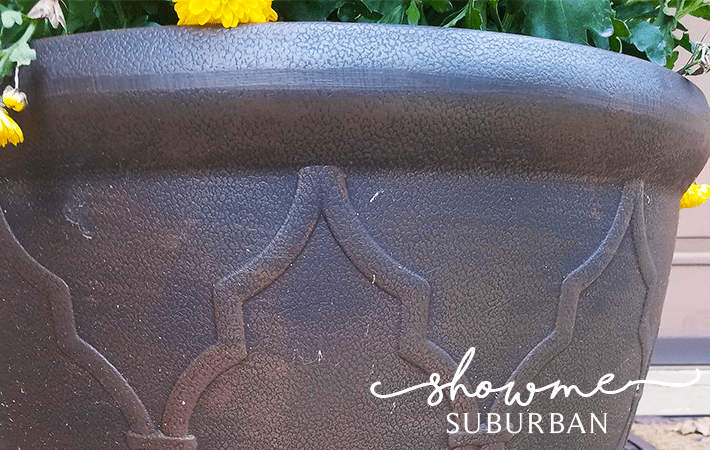
When I started this project, my pots looked like this:
A little sad, no?
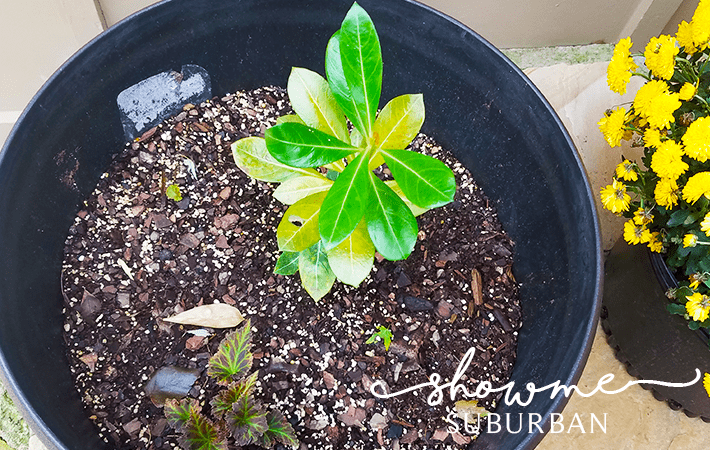
I’d planted a desert rose mini tree in each pot, surrounded by begonias (My favorite!). A combination of heavy rains and scorching heat this summer pretty much did the flowers in. A few of the begonias were starting to come back (The little darlings!), but it was time to move on and decorate pots for fall.
Start by clearing summer plants out of the pots. Don’t worry, none of mine were hardy below 50 degrees, so they wouldn’t have survived the chilly Missouri winter anyway.
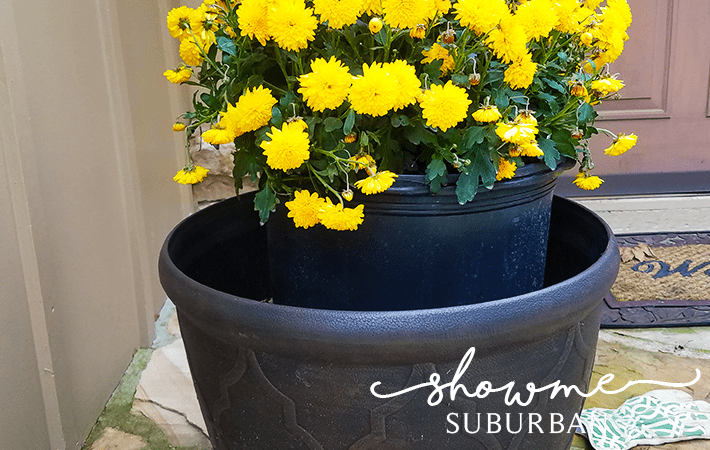
Since I wasn’t going to plant the mums directly in the pots, I wanted the tops of the mum’s containers to be flush with the tops of the pots. So, I plopped the mum containers in on top of the soil in the pots. This gives an idea of about how much soil needs to be removed so the mum containers will sit even with the tops of the pots.
That’s not cute! Let’s fix it.
Next, remove the excess soil from the pots. Be sure to level out the soil fully.
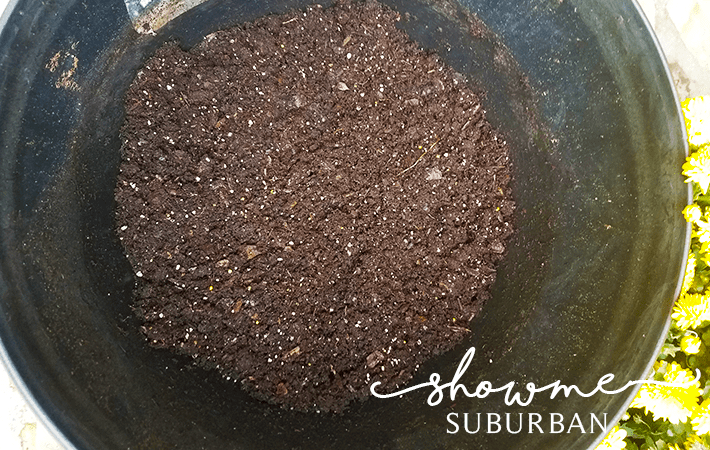
Isn’t this a beautiful picture of the dirt? Ha!
A little note here: If your pots don’t already contain soil, place bricks or floral foam in the bottoms of the pots to boost the floral containers up to the appropriate height.
Once my soil was leveled and at the right height, I did a final check by placing the mum containers right on top.
If your pots are anything like mine, they may have gotten dirty over the course of the summer as shown above. Wipe the pots down with a wet rag to get them looking pristine again.
Attach the ribbon
Measure the length of ribbon you’ll need by wrapping it around the point on the pot where you plan to place it. (Hello, alliteration!) Add at least 6 inches to that length. Then, cut the ribbon at a 45-degree angle on both ends to prevent fraying.
Next, fold the ribbon under about 2 inches on both ends. The florist ribbon creases easily, so get a good crease on each end. We’ll be using the crease as a reference point.
Next, wrap the ribbon tightly around the pot, where you’d like it to be. Use a pencil or one of your safety pins to mark the point where the top end of the ribbon overlaps the bottom end.
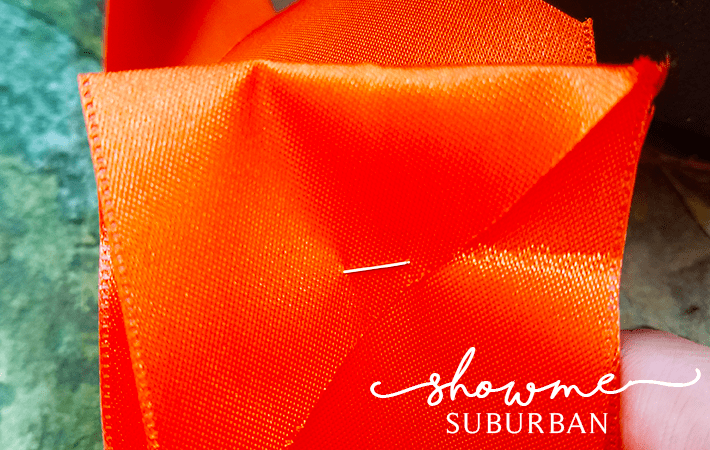
Once you have the overlap spot marked, allow the ribbon to drop, but keep it around the bottom of the pot.
Hold the ends of the ribbon together, and turn the ribbon inside out (You’ll be looking at the crease you made in the top ribbon).

That little jagged line in the ribbon above is the crease.
Fold the excess ribbon over on each end. Then, safety pin the crease in the top end of the ribbon to the point at which it overlapped the bottom ribbon. Safety pin all layers of both ends when you do this (I.e., include the portion you folded over).
Turn the ribbon right side out, and it should look like this:
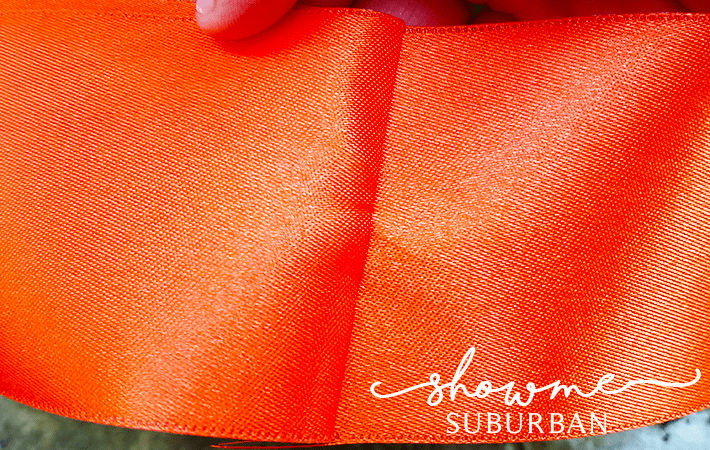
By safety pinning along the crease in the ribbon, you end up with a nice, smooth seam.
Okay, remember when I said above to keep the ribbon around the bottom of the pot? Now that your ribbon is pinned, you’ll need to shimmy it up to where you want it on the pot.
You might find that getting it pinned at the right length takes a bit of trial and error. Just remember that you want the ribbon to be nice and taut around the pot, so it will stay up securely.
Secure the ribbon
Once your ribbon is in place, it’s time to add some reinforcements.
For this step, I used Scotch Mounting Tape. This is a double sided tape, which means it’s sticky on both sides.
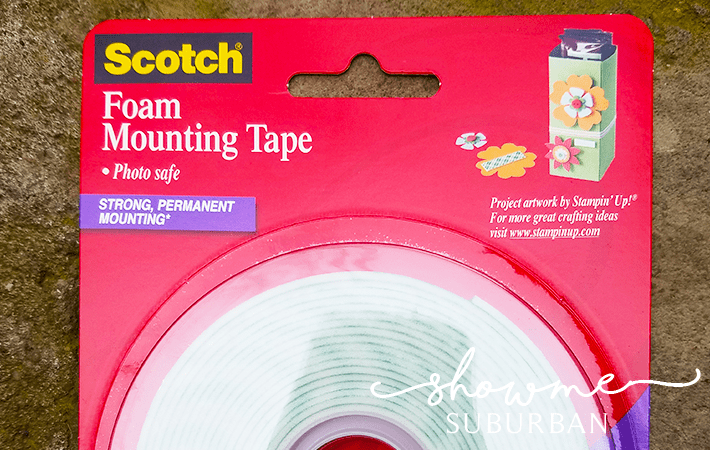
Gently push the ribbon down in one area. Place a half-inch piece of foam mounting tape to the pot where the top of the ribbon will be.
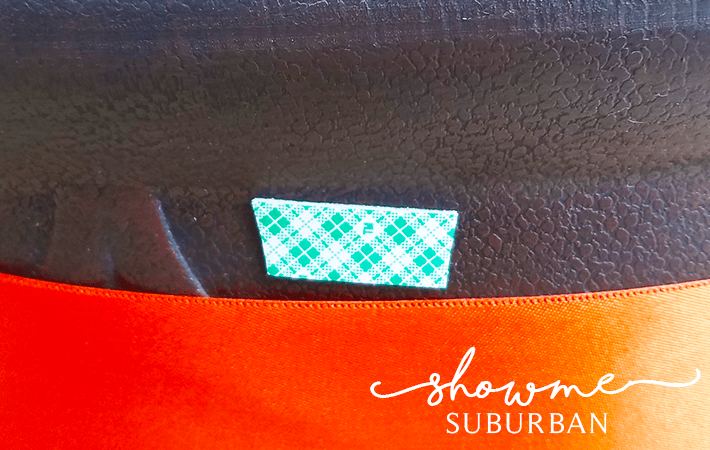
I placed pieces of mounting tape on the back and sides of my pots, but not in front. While the mounting tape is difficult to detect visually under the ribbon, I still prefer to have a completely smooth, clean appearance on the fronts of the pots.
Once you’re happy with the placement, remove the paper backing from the other side of the tape.
Use your scissors to gently pull the ribbon away from the tape while you slide it back up and into place.
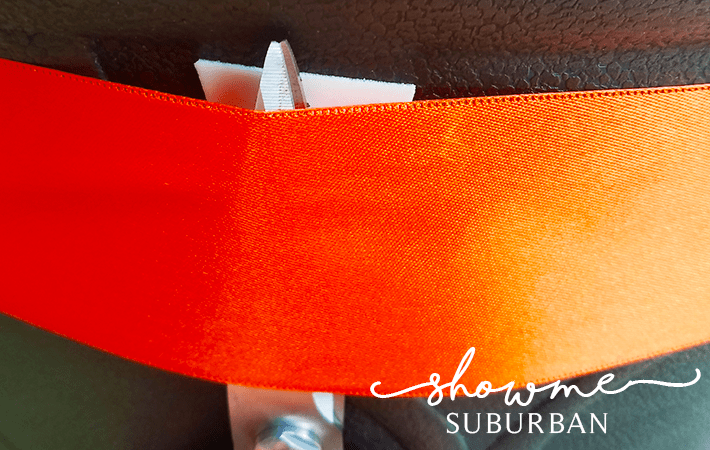
After you slide the ribbon back up, pull the scissors out. Press the ribbon firmly to the tape for about 10 seconds.
Add the mums
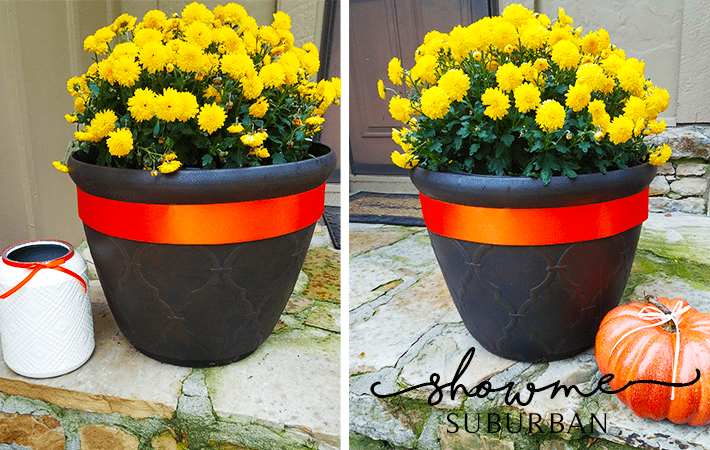
Once your ribbon is in place, all you have left to do is drop the mum containers into the pots. That’s all there is to it!
Conclusion
My favorite thing about this décor is that it’s fast and simple to change up. Because the mums aren’t planted directly in the pots, they will be easy to switch out after Thanksgiving for the upcoming Christmas season. The ribbon will be a snap to rotate out, too.
Plus, it’s kind of like a uniform for your planter pots. Just add plants and decorative ribbon that match the next holiday or season, and you’re done. A complete no-brainer! No more searching for ideas to update your porch décor from season to season.
How do you decorate pots for fall? Do you like having different exterior décor for each season? Let me know in the comments below!
P.S. – Update on these pots: Right as I was finishing up these pictures, it started pouring rain. Hard. For about 5 hours. (If you look closely at the side-by-side pictures of my 2 pots above, you can see some raindrops on the rims of the pots) The florist ribbon and mounting tape both held up beautifully. The ribbon dried out fast and still looks great!
Looking for more fall décor inspiration?
Follow my board on Pinterest!