This post may contain affiliate links. This means that if you click and make a purchase, I receive a small commission at no additional cost to you. I only recommend products I use and love, or that I would recommend to my mom or best friend. Please see the disclosure statement for additional information.
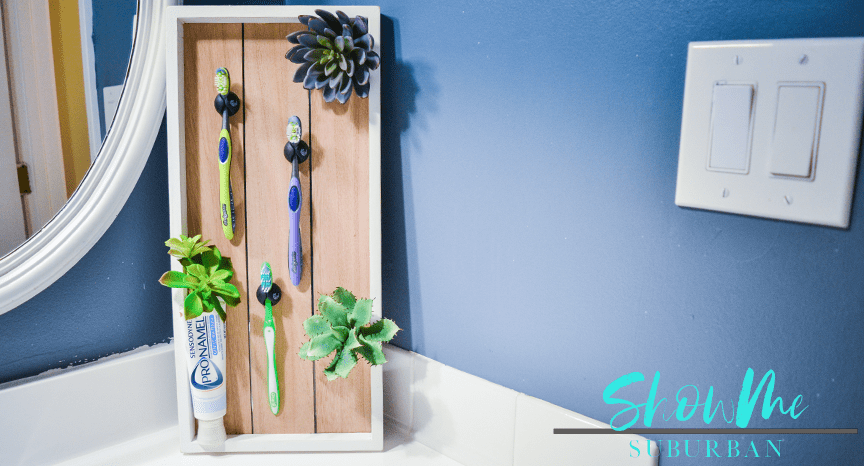
Looking for a cute toothbrush storage solution? This quick and easy DIY idea is the perfect decorative toothbrush holder!
Grimacing, I pried off the lid.
I tilted it around until light streamed to the bottom.
My face wrinkled in disgust as my gaze fixed on the swirls of orange, white and black festering at the bottom.
The end of my toothbrush handle must have been sitting in that gunk for MONTHS.
Gross.
The Problem With Toothbrush Storage
If you search online for a toothbrush holder, chances are that you’ll find a plastic cup with holes in the top.
That’s convenient for dropping your toothbrush in, but those things can get slimy. In fact, the toothbrush holder is one of the top 10 germiest spots in your home, according to CBS News. That’s largely because toothbrush holders are often stored right next to the toilet.
The fact that they’re often enclosed, damp, and lacking light doesn’t help either.
The solution? A cute, DIY toothbrush storage unit that holds toothbrushes out to dry, and stores away under the cabinet when not in use.
Let’s get to it!
How to Make a Toothbrush Storage Unit
This cute, easy DIY project can be completed in just a few steps, and requires only a few supplies.
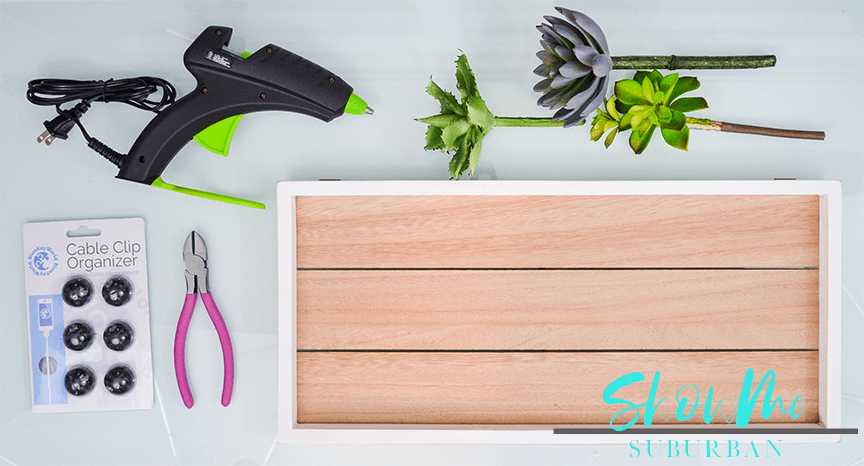
Supplies
- Wood tray (I found the one I used for this project at Hobby Lobby)
- Cable clip organizers to hold toothbrushes
- Faux succulents or other decorative items
- Floral wire cutters
- Hot glue gun and glue sticks
Step 1
Using floral wire cutters, trim all but about 1.5″ of each faux succulent stem.
It’s easiest to use the wire cutter to snip through the outer covering first, then use it to twist and cut the internal wire.
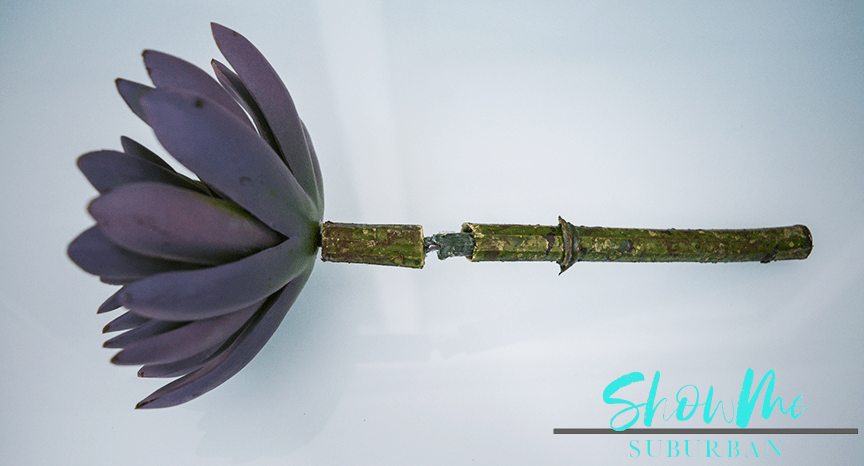
Step 2
Carefully bend the stem at an angle from the base of each succulent.
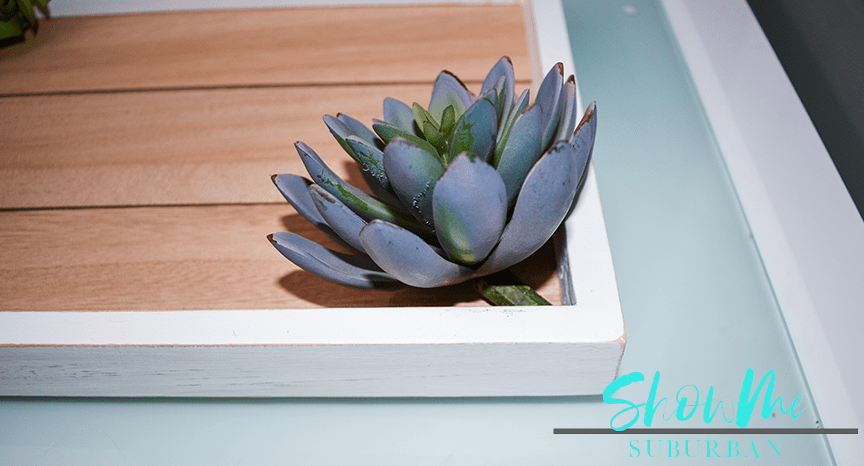
Pop the neck of your family’s toothbrushes into the cable clip organizers. Arrange the cable clip organizers, your family’s toothbrushes, and the faux succulents on the wood tray until you’re happy with the layout.
Using the hot glue gun, glue the bent stem of each succulent to the wood tray, which serves as the base of the toothbrush storage unit.
Step 3
Remove the toothbrushes from the cable clip organizers.
Remove the paper backing from each cable clip organizer.
Using the hot glue gun, glue each cable clip organizer to the wood tray.
How to Make a Toothbrush Storage Unit: Conclusion
This quick and easy DIY project will bet your family’s toothbrushes out of that slimy cup and drying in open air. To minimize bacteria, you should stow the tray below the sink when your toothbrushes are not in use.
This cute toothbrush holder is the perfect answer to the question of how to store toothbrushes!

P.S. – If you liked this easy diy project, you’ll probably also love making an easy custom dry erase board or a jewelry organizer!