This post may contain affiliate links. This means that if you click and make a purchase, I receive a small commission at no additional cost to you. I only recommend products I use and love, or that I would recommend to my mom or best friend. Please see the disclosure statement for additional information.
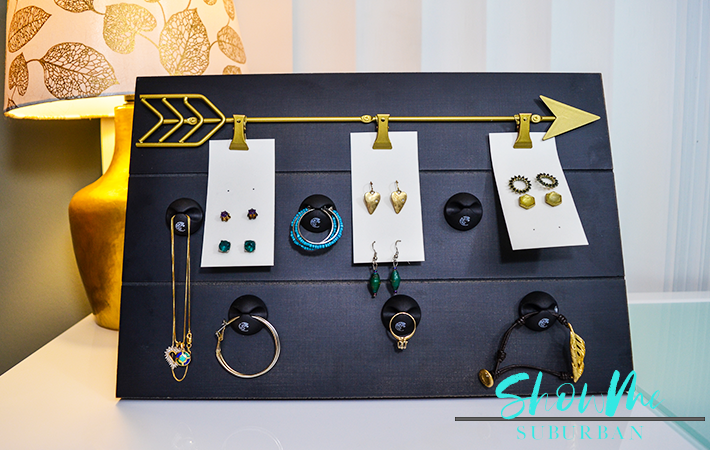
Try this quick and easy DIY jewelry organizer! It will will help you eliminate tangled jewelry, so you can find and wear your favorite pieces.
How would your mornings be different if your favorite jewelry pieces were organized, beautifully displayed, and easily accessible?
Imagine how quickly you could get ready for your day if you didn’t have a big, tangled mess of jewelry to pick through.
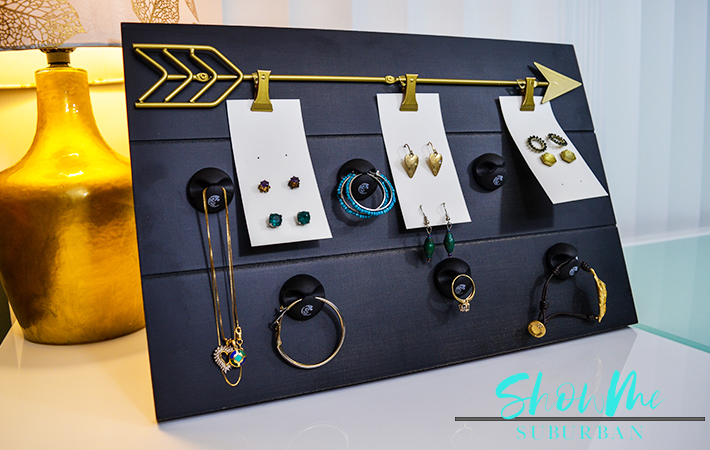
This simple and stylish DIY jewelry organizer is exactly what you need to organize your jewelry so you’ll see it and wear it!
A Cute and Functional Jewelry Organizer
This jewelry organizer looks great, and is perfect for streamlining your jewelry. It would come in handy anywhere that jewelry clutter tends to accumulate.
It would be perfect way to wrangle jewelry when organizing your nightstand or bedside table. You could also keep it on your bathroom counter or in your closet.
The best part is that this project is easily customizable, because you can decorate it however you want! Mine came pre-decorated as a photo board from Hobby Lobby. However, you could also get a plain photo board (or even a wide picture frame) and decorate it however you want.
How to Make a Jewelry Organizer
This jewelry organizer is quick and easy to make. I’ll provide some options in the supplies list for some of the variations I mentioned above.
Supplies
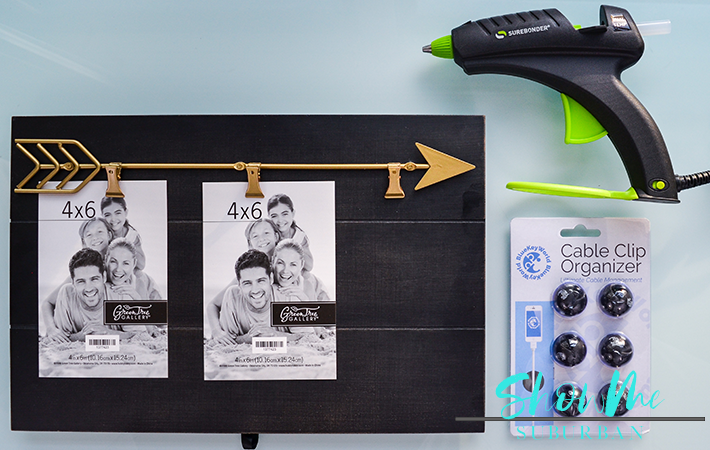
How to make a jewelry organizer? Start with supplies, of course! Here are the supplies I used for my project.
- Easel back photo frame (I used this clip frame from Hobby Lobby; Amazon has tons of options for clip frames, just make sure it has an easel back)
- Cable clip organizers
- Hot glue gun
- Sample photos or cardstock (I used the sample photos that came with the frame)
- Pushpin
- Paper cutter or scissors
Depending on the type of frame you choose, you might need some additional supplies.
You could also use a piece of distressed wood instead of a frame. If you choose a frame that doesn’t have an easel back (the little thing on the back of the frame that allows it to stand up on a flat surface), you’ll need to get either a cardboard easel back or a small tabletop easel.
If your frame doesn’t come pre-decorated, you can choose your own adornments. Try small metal decorations, painted wood elements, faux succulents, or faux jewels.
If you want to use your jewelry organizer for earrings, but your frame didn’t come with clips, you will need to get some mini clothespins or bulldog clips to hold the cardstock.
Okay, supplies are done. Here’s how to make this quick and easy DIY jewelry organizer!
Step 1
Before you do anything else, lay your photo frame flat and arrange the photo clips, decorations, and cable clip organizers until you like the arrangement.
You should keep in mind which types of jewelry you’ll be using on your jewelry organizer, so you have plenty of room to see everything clearly. For example, necklaces will take up more vertical space than rings or bracelets.
Step 2
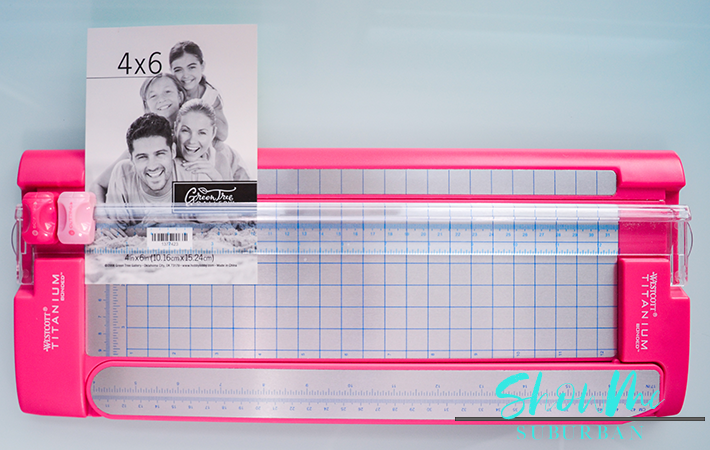
If you’re going to use your jewelry organizer to store earrings, you’ll need to cut the sample photos or cardstock down to size. I used the sample photos that came with my frame, because they were blank on the back and it’s a great way to repurpose them.
I found that a 2″ x 4″ piece of paper is the perfect size to hold 3 pairs of stud earrings, and still leave space to be clipped securely to the frame. A 4″ x 6″ sheet also holds 2 pairs of small drop earrings.
Use the paper cutter or scissors to cut strips of card stock or the sample photos that came with your frame to fit your jewelry organizer.
Step 3
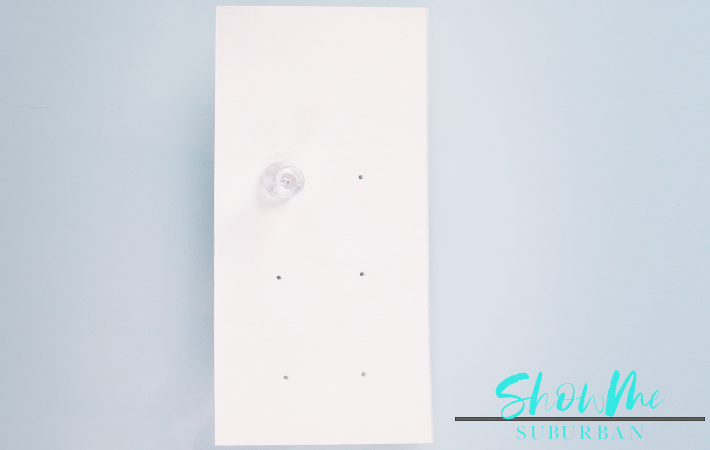
Use the pushpin to create holes in each strip of paper. I created 3 sets of 2 holes on my cards.
Step 4
If your frame came with clips already attached, skip to step 5.
If your frame didn’t come with attached clips, it’s time to get the mini clothespins or bulldog clips to the frame. Use the glue gun to glue the mini clothespins or bulldog clips to the frame.
Step 5
Use the glue gun to glue the cable clip organizers to the frame. I found that it’s best to glue them so the slots on the clips run horizontally. As a result, you’ll be able to hang bracelets, necklaces, and rings!
How to Make a Jewelry Organizer: Conclusion
Here are a few tips to help you get the most out of your DIY jewelry organizer.
First, use care when you pop your jewelry in and out of the cable clip organizers. Also, you might need to loop necklaces around 2 or 3 times, depending on the height of the cable clip organizer. Finally, this project isn’t great for chunky jewelry.
That’s how to make a jewelry organizer! I hope you enjoyed this quick and easy DIY project. It’s functional, beautiful, and even makes a great gift.
Are you going to make this project? Scroll up to the supplies list to get all the supplies you’ll need!
P.S. – If you liked this easy diy project, you’ll probably also love making an easy, custom dry erase board or a toothbrush storage unit!